
Do you ever feel like you’re missing the bigger picture when peering into a microscope? C-mount adapters for your camera can reveal hidden worlds.
With the right C-mount adapter, you can capture expansive vistas spanning multiple microscopic fields of view. However, finding an adapter suited for your equipment takes some fundamental knowledge.
In this beginner’s guide, I’ll walk you through the key considerations around C-mounts so you can discover all that your microscope has to offer. You’ll learn how to match camera formats, choose compatible magnification ranges, evaluate adapter build qualities, and select the optical properties best suited to your needs.
What Is a C-Mount Adapter?
First, what exactly is a C-mount? Essentially, it’s a camera lens mount standardized for attaching 35mm film or digital video cameras to a microscope’s optical train. The mount itself consists of a male threaded ring with 1-inch diameter and 32 threads per inch. This threads into the female C-mount port found on most research-grade microscopes.
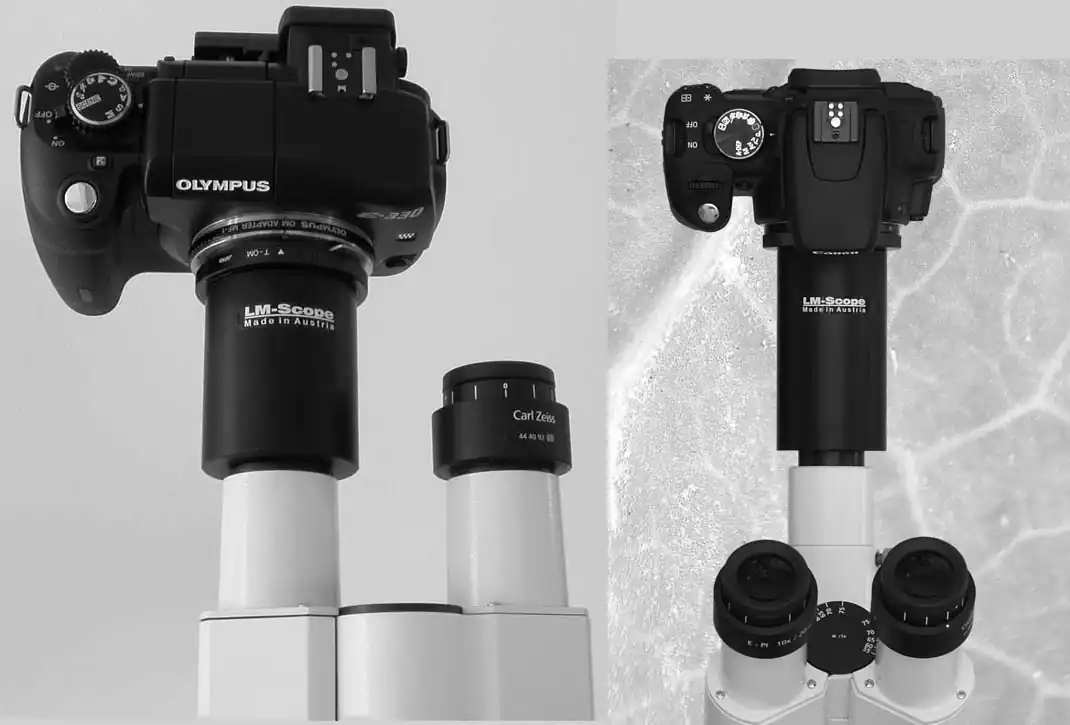
Common pairings include attaching a digital single-lens reflex (DSLR) or mirrorless camera to a trinocular microscope head. This allows you to split the light path between the eyepieces and the camera. Otherwise, camcorders or industrial digital cameras often mount directly to standard compound or stereo microscopes.
The Different Types of C Mount Adapters for Different Cameras
However, not all C-mount setups are created equal. The size of your camera’s sensor must align properly with the microscope’s optics to maximize image circle projection. Two of the most common sensor formats are:
- 1-inch – Typically found in industrial digital cameras, 1-inch sensors have an image circle diameter of 11mm. This matches well with microscopes designed for camera attachments.
- 2/3-inch – Camcorders and some mirrorless cameras house smaller 2/3-inch sensors. Their image circles measure 8.8mm, which still fits a standard C-mount’s 10.5mm opening.
So check both your camera and microscope specs to ensure your adapter selection matches the sensor size. Illumination and image quality suffer if the projection surface exceeds your camera’s sensor area.
Lens Magnification Requirements
You’ll also want to match the optical magnification range of your microscope’s objective lenses to your imaging needs:
- Low Power – Stereo microscopes typically have fixed magnification from 0.67x to 2x objectives. C-mount adapters in the 0.3x to 0.5x range compound total magnification ideal for inspecting larger specimens in 3D.
- Medium Power – Standard compound microscopes support 4x to 40x objectives. Grab 10x to 15x magnification adapters to boost resolution and contrast when digitally capturing slide or Petri dish contents.
- High Power – Specimens reveal incredible detail through 100x immersion objectives. Extend magnification further through 20x to 30x C-mount adapters to probe the intricate structures hiding beneath.
Finding the perfect balance between resolution, field of view, and depth of field for your samples takes experimentation. But choose camera and C-mount adapter combinations that give you flexibility across low to high microscope powers.
What To Look For When Buying C-Mount Adapters?
With sensor size and magnification ranges covered, we can now explore the adapter specifics that set one C-mount apart from the next. You’ll encounter differences in build materials and optical configurations. Specialty C-mounts open new imaging possibilities too. Here is what to look for:
1. Material and Build Considerations
Pay close attention to adapter housing construction. Superior fit, alignment, and stability transform your imagery. Characteristics to compare include:
- Aluminum – Lightweight aluminum reduces neck strain during lengthy microscopy sessions. Anodization also enhances durability and corrosion resistance for long-term use.
- Brass – Heavier brass adapters feel more substantial in your hands. The rigidity also practically eliminates the potential for flex or distortion between the camera and the microscope.
No matter the material, precise manufacturing ensures snug threading while maintaining smooth rotation for positioning your camera. Poor fit leads to image aberrations and trouble properly framing your shots.
2. Optical Properties to Look For
Lens elements within C-mount signal paths also guide image quality:
- Achromatic – Corrects for chromatic aberration or color fringing. Important when photographing at high magnifications with large sensor cameras.
- Infinity Corrected – Provides better object focus to sensor distance compatibility between microscopes and cameras. Reduces vignettes and dim edges.
- Focal Lengths – Standard 16mm or expand to 25mm options. Allows switching between wider fields of view or higher sensor coverage as needed.
Evaluating these optical aspects prevents distorted magnification, keeps image edges bright, and maximizes camera sensor coverage.
Recommended C-Mount Adapters for Different Setups
We’ve covered a lot of ground detailing C-mount technical considerations. With this foundation set, here are my recommended adapters to unlock your microscope’s capabilities for various skill levels and applications:
- Entry-Level – Grab an inexpensive, aluminum 0.35x or 0.5x C-mount from AmScope, Omegon, or Celestron to start. See if microphotography suits your interests before investing further.
- Advanced Hobbyist – Upgrade to an achromatic brass adapter like the Meade Scientific Series to benefit from durability and optical corrections.
- Professional Researcher – Invest in a precision-corrected infinity adapter from industry leaders like Nikon or Zeiss. Costly, but built to extract the highest levels of image fidelity from high-end microscope bodies over long-term use.
Additional specialty C-mounts open creative possibilities too:
- Dual Camera – Beam splitters from SplitScope enable displaying on camera LCD while simultaneously recording video.
- Multi-View – Quad view adapters from Jiusion splitting image feed to four camera outputs. Useful for aligning and coordinating multiple angles.
- UV/IR – Enhanced adapters from universe Kogaku passing non-visible spectrum wavelengths. Extends photography into fluorescence stimulation or night vision equipment.
So don’t settle for squinting through eyepieces alone. Pair your camera with a thoughtfully selected C-mount adapter instead.